


Learning how to clean a water flosser can seem like a hassle, but no more. In this article, we'll guide you through simple steps on how to clean a SNOW water flosser, including tips for cleaning the reservoir, internal parts, and flosser tips.
We'll also cover essential cleaning tips, what to avoid when cleaning, and how to prevent mold from forming inside your device.
Let's unveil the best practices for keeping your water flosser in top shape.
What this article covers:- How to Clean a SNOW Water Flosser
- Water Flosser Cleaning Tips
- What to Avoid When Cleaning a Water Flosser
- How to Prevent Mold in a Water Flosser
How to Clean a SNOW Water Flosser
After learning how to use a water flosser, you can follow these simple steps to make sure every part of your flosser stays clean and effective over time.
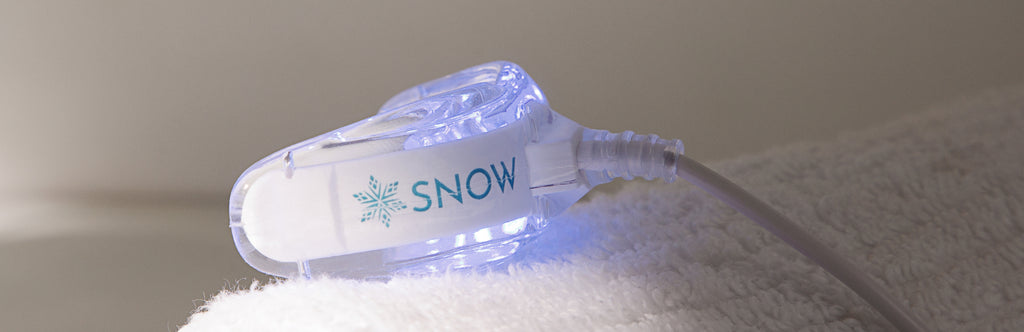
After all, the SNOW Water Flosser is a game-changer. With its 8 oz water tank and antibacterial-treated BPA-free tip nozzle, it is a device you'll want to use for a long time.
Step 1: Clean The Water Reservoir
To clean the reservoir, remove it from the device and wash it with warm, soapy water. Remove the valve, clean it under running water for 30-45 seconds, and set it aside to dry.
How often should you water floss? We recommend you do it once daily. With continual use in mind, cleanliness is of the utmost importance.
Step 2: Clean The Internal Parts
Cleaning the internal parts of your SNOW water flosser is necessary for removing any build-up of mineral deposits or bacteria. To do this, mix a solution of one part white vinegar to eight parts warm water and fill the reservoir with the solution.
Run the flosser until half the solution has passed through, then let it sit for about 20 minutes to break down deposits. Afterward, flush the remaining solution through the device, followed by a full rinse with clean water.

Step 3: Clean The Flosser Tip
Our research indicates that the flosser tip is one of the most important components to keep clean, as it's in direct contact with your mouth.
Remove the tip from the device and soak it in a solution of white vinegar or hydrogen peroxide for about 5 minutes. After soaking, rinse the tip thoroughly with warm water to ensure all cleaning agents are removed.
For optimal performance, we recommend replacing the flosser tip every 3-6 months, as mineral deposits can clog the tip over time, reducing its effectiveness.
Water Flosser Cleaning Tips
First, always rinse the reservoir with warm water immediately after each use to prevent mineral deposits from forming. This daily step keeps water from sitting too long, which helps prevent buildup inside the tank and tubing.
A soft cloth can be used to wipe down the exterior and keep it looking clean.
Based on our observations, another key tip is to deep clean the device every 1-3 months with a vinegar and water solution.
Simply mix two tablespoons of vinegar with warm water in the reservoir and run the solution through the flosser. Allow the solution to sit for 20 minutes before flushing it out with fresh water.
This helps break down bacteria, mold, and any lingering debris that may be hidden inside the flosser.
What to Avoid When Cleaning a Water Flosser
When maintaining your SNOW water flosser, it's important to avoid harsh cleaning chemicals that could damage the device.
Substances like bleach, iodine, or abrasive cleaners can weaken the internal components and reduce the effectiveness of your flosser. These materials can also leave harmful residues behind, making it unsafe for use.

Avoid using hot water in the dishwasher to dry the water reservoir, as high heat may warp the plastic. Instead, opt for air-drying the reservoir or using a soft towel to dry it.
Lastly, never submerge the electrical base in water—always wipe it down with a damp cloth to prevent any moisture from entering the motor.
How to Prevent Mold in a Water Flosser
To avoid mold buildup, always empty the reservoir after each use and allow it to dry completely. Our findings show that this simple step prevents stagnant water, which is a breeding ground for mold.
Also, always store the flosser in a dry, cool area outside of humid environments like bathrooms to further reduce the chance of mold growth.
Can I use water flosser everyday? Most certainly, just remember to clean it after use.
Conclusion
Cleaning your water flosser is an essential task if you want to maintain healthy teeth and gums. Regular upkeep will prevent the buildup of harmful bacteria and mold, ensuring that your flosser performs efficiently for years to come.
In this article, we've covered how to clean a SNOW water flosser, broken down into detailed steps for cleaning the reservoir, internal parts, and flosser tip.
We've also shared helpful cleaning tips, highlighted what you should avoid, and explained how to prevent mold from forming in your device.
Ready to take your oral hygiene to the next level? Purchase your SNOW water flosser or any of our teeth whitening products and experience a cleaner, fresher smile.
If you want to learn more, why not check out these articles below:
- Can a Water Flosser Remove Tartar
- Can You Put Mouthwash in a Water Flosser
- How to Get White Teeth in 1 Day with Toothpaste
- Is It Safe to Use Whitening Toothpaste Everyday
- Should You Leave Toothpaste on Your Teeth
- Are Toothpaste Tablets Effective
- Best Water Flosser
- Best Dental Floss
- Best Portable Water Flosser
- Best Travel Water Flosser
- When Is the Best Time to Floss
- Why Does My Floss Smell Bad?
- Why is Flossing Important?
- Why Does Flossing Feel Good?
- Do Water Flossers Work?